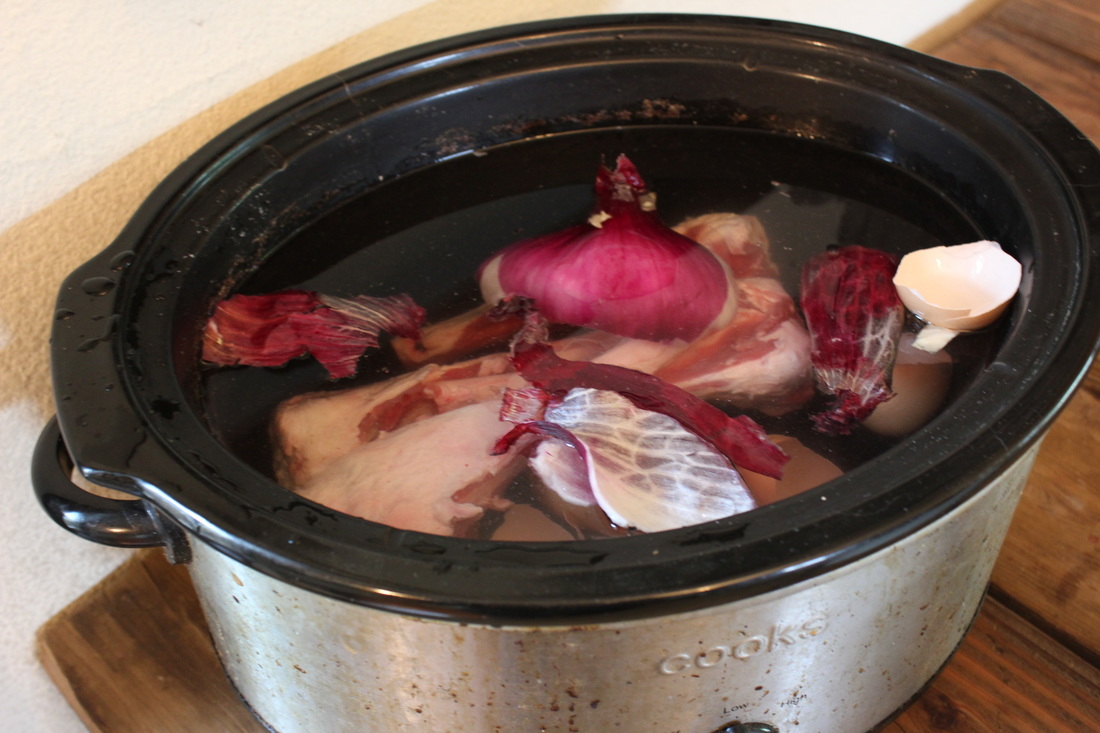
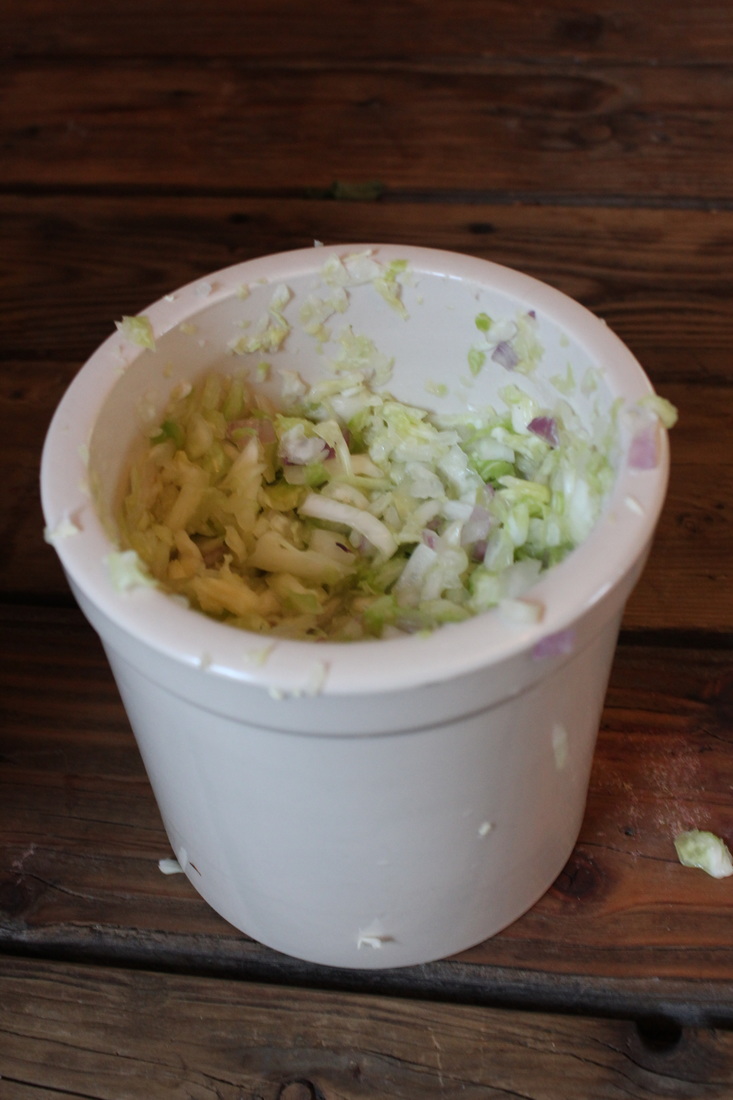
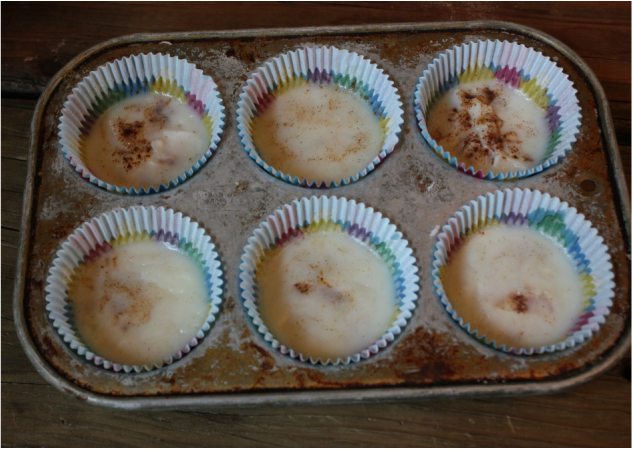
Bone Broths, Fermented Veggies, and Fat BombsSince these are my first few days of preparation for the project, I wanted to share with ya'll a few things that I'm prepping ahead of time. These are things you can include in your diet that give you added nutrition without added cost. They also don't take too much time. I made these 3 things in 35 minutes. Of course that isn't taking into account how long they have to sit. Eating healthy pretty much means you have to prepare ahead; having adequate planning is crucial to maintaining a whole foods diet. First Up: Bone Broth For the sake of not playing into the money making name: Bone Broth, we can just call this stock. People are starting to catch on to this mineral rich broth and places are beginning to sell "Bone Broth" for high prices. The reason I like this so much is because, as of now, bones are cheap. (wondering if they'll remain that way as more and more people start consuming this!) The farm I am getting my meat from this week actually includes all the bones, organs and fat for free with the purchase of meat! That's pretty amazing. I used these broth bases as a part of my allergy healing. (you can read about my protocol here) Broths made from meat and bones have so many gut healing nutrients so if you are someone who has suffered from digestive issues and allergies, this is for you! I feel like it's a really cost effective way to heal yourself. Think about bones…what are they? They're straight up MINERALS. So good. I make a pretty simple base myself. I only use these ingredients: Bones: $2-$5 (beef, chicken, fish, lamb, whatever you like!) Onion Skins: Free (this is the part you don't eat but it's full of the bioflavanoid Quercitin which helps with allergies) Egg Shells: Free (these contain lot's of calcium) Sea Salt: $.10 (a few pinches of this for seasoning and to help draw the mineral out of the bones) Total: $3 Time: 5 minutes (Crock Pot: 8 hours over night) Put all this into a crock pot, fill with water and cook overnight. In the morning you can strain it and store until you're ready to make soup. You can also freeze bone broth if you want to make a lot and stock up. If you're buying from a grocery store you can go to the meat counter and ask for bones. If you're not sure what kind you want just tell them you're making stock and get a recommendation. Bones can be used multiple times for stock (I usually make 2 batches with one set of bones) This means that you're spending about $2-$3 a batch. Other options for use are cooking your grains like rice or your beans in bone broth instead of water for added nutrients. Otherwise just use the stock to make your favorite soups. Second Up: Sauerkraut Another great way to add nutrition without the cost: fermentation! Fermenting things adds a whole lot of nutrients to food and aids in digestion. Cabbage, for example, is a gut healing veggie. Take those properties, add fermentation and you've got a very healing food hailed for cancer prevention, vitamin content, beneficial enzymes and bacteria. Organic, Local Cabbage: $4.71 (1.49 pounds) Red Onion: $.50 (1/4 of it) Horse Radish Leaves: (we grown them and they are optional) Sea Salt: $.50 (I use Celtic Sea Salt) Total: $6 Time: 20 minutes (1 week+ to ferment) This is a super simple recipe, you can get creative and add more veggies if you like! The basic instructions are something like this: Chop up your cabbage and other veggies into small pieces. There are a few ways to do the next part, you can use a crock, jar or bowl to get started. Put a few handfuls of cabbage and veggies in whatever vessel you are using and sprinkle a decent amount of salt on top. Now you need to mash it, if you're using a crock or jar the opening may be small so you need a wooden masher that fits. If using a bowl you can just use your hands to mash. You want to see the juices start coming out of the cabbage and you want it to soften up a bit. Keep piling more layers of veggies and salt and mashing. At the end you should have a lot of liquid, enough to cover the veggies if you smash them down. With a crock you want to put a plate on top with a weight in order to keep the veggies below the surface of the water. With a jar you can put a lid on loosely and will need to open it every day to release pressure. Other options include an airlock but for the sake of doing this easy I'll start there and you can look up other ways of doing it. Let the mix sit for at least a week, once it's fermented to your liking you'll want to put it in the refrigerator to cease the fermentation. And it might sound gross to some people, but drink the juice in your sauerkraut too! If it's unappetizing to you then just add it to your soups before eating. I like to have a little side of it with breakfast, put it in my soups before eating, and use it as a condiment on burgers. This is meant to be a side dish so a little bit at a time is ideal. Third Up: Fat Bombs These are for those moments in the day where you are in-between meals and you need a quick source of slow burning energy. Titled: Fat Bombs because that's what they are. Good clean fats. Some recipes just call for coconut oil as the base but I wanted to try adding butter to mine as well! For those of you who are dairy intolerant you can replace the butter with Ghee (clarified butter) or just more coconut oil. The benefits of these, besides providing fuel, are extensive. Coconut oil is high in saturated fats and when digested these fats go straight to the liver from the digestive tract, where they are used as quick energy or turned in to ketone bodies (a form of fuel the body uses) which have therapeutic effects on brain disorders like epilepsy and Alzheimer's. Coconut oil also contains the fatty acid Lauric Acid which has been shown to kill the bacteria Staphylococcus Aureus and the yeast Candida Albicans. It's other benefits include; weight loss, skin health, and healthy cholesterol levels. As far as grass fed butter goes, you can expect the same amazing health giving qualities. One very important nutrient that will not show up in feed lot/grain feed cow butter is Vitamin K2. This vitamin can only be synthesized by the rumen of a cow when they are eating grass. They use the K1 in grass, which you also find in things like Kale, and convert it to K2. So when we consume this kind of butter we are getting this nutrient. K2 prevents or corrects arterial plaque as well as helping the body use calcium efficiently. You'll notice also that grass fed butter is dark yellow in color, this is because it has high vitamin A content, like carrots, but because vitamin A is fat soluble, meaning it can only be absorb into the body with the presence of fat, you get more out of butter than you do out of carrots. Grass fed butter has a perfect ratio of Omega 3 to Omega 6 while grain fed butter has much more Omega 6 in it. Our diets already tend to be heavy in Omega 6 when they are suppose to be in balance with Omega 3. Okay okay! Enough about the awesomeness of these two. Here's what you do: 1/2 cup Coconut Oil $.50 2 Tablespoons Grass Fed Butter $.40 6 Tablespoons Coconut Flakes $.20 1/2 Tsp Vanilla $.5 Pinch of Coconut Sugar, Cinnamon, Nutmeg $.10 Total Cost: $1.25 ($.20 cents per fat bomb) Total Time: 5-10 minutes Melt your coconut oil and butter over low heat. While that's melting put cupcake papers in a cupcake tin. Put 1 Tablespoon of coconut flakes in each cup. (I only have a 6 cup cupcake pan so this recipe makes 6) Put your vanilla in the coconut oil and butter liquid and pour over the coconut flakes so that each one is about a centimeter filled. Sprinkle a pinch of coconut sugar, cinnamon and nutmeg on top. Keep in the refrigerator and take one on the go when you need a little energy during the day. Gosh…I love this stuff! Nutrient Dense, healing options for those of you on a budget. Now…I know there are likely some vegetarians reading this…in that case I think I'll post some other mineral rich seaweed broths later on this month, so keep an eye out for that!
0 Comments
Leave a Reply. |
Details
Bailey Patrice & Jonathan DavidCategories
All
Date
December 2017
|


